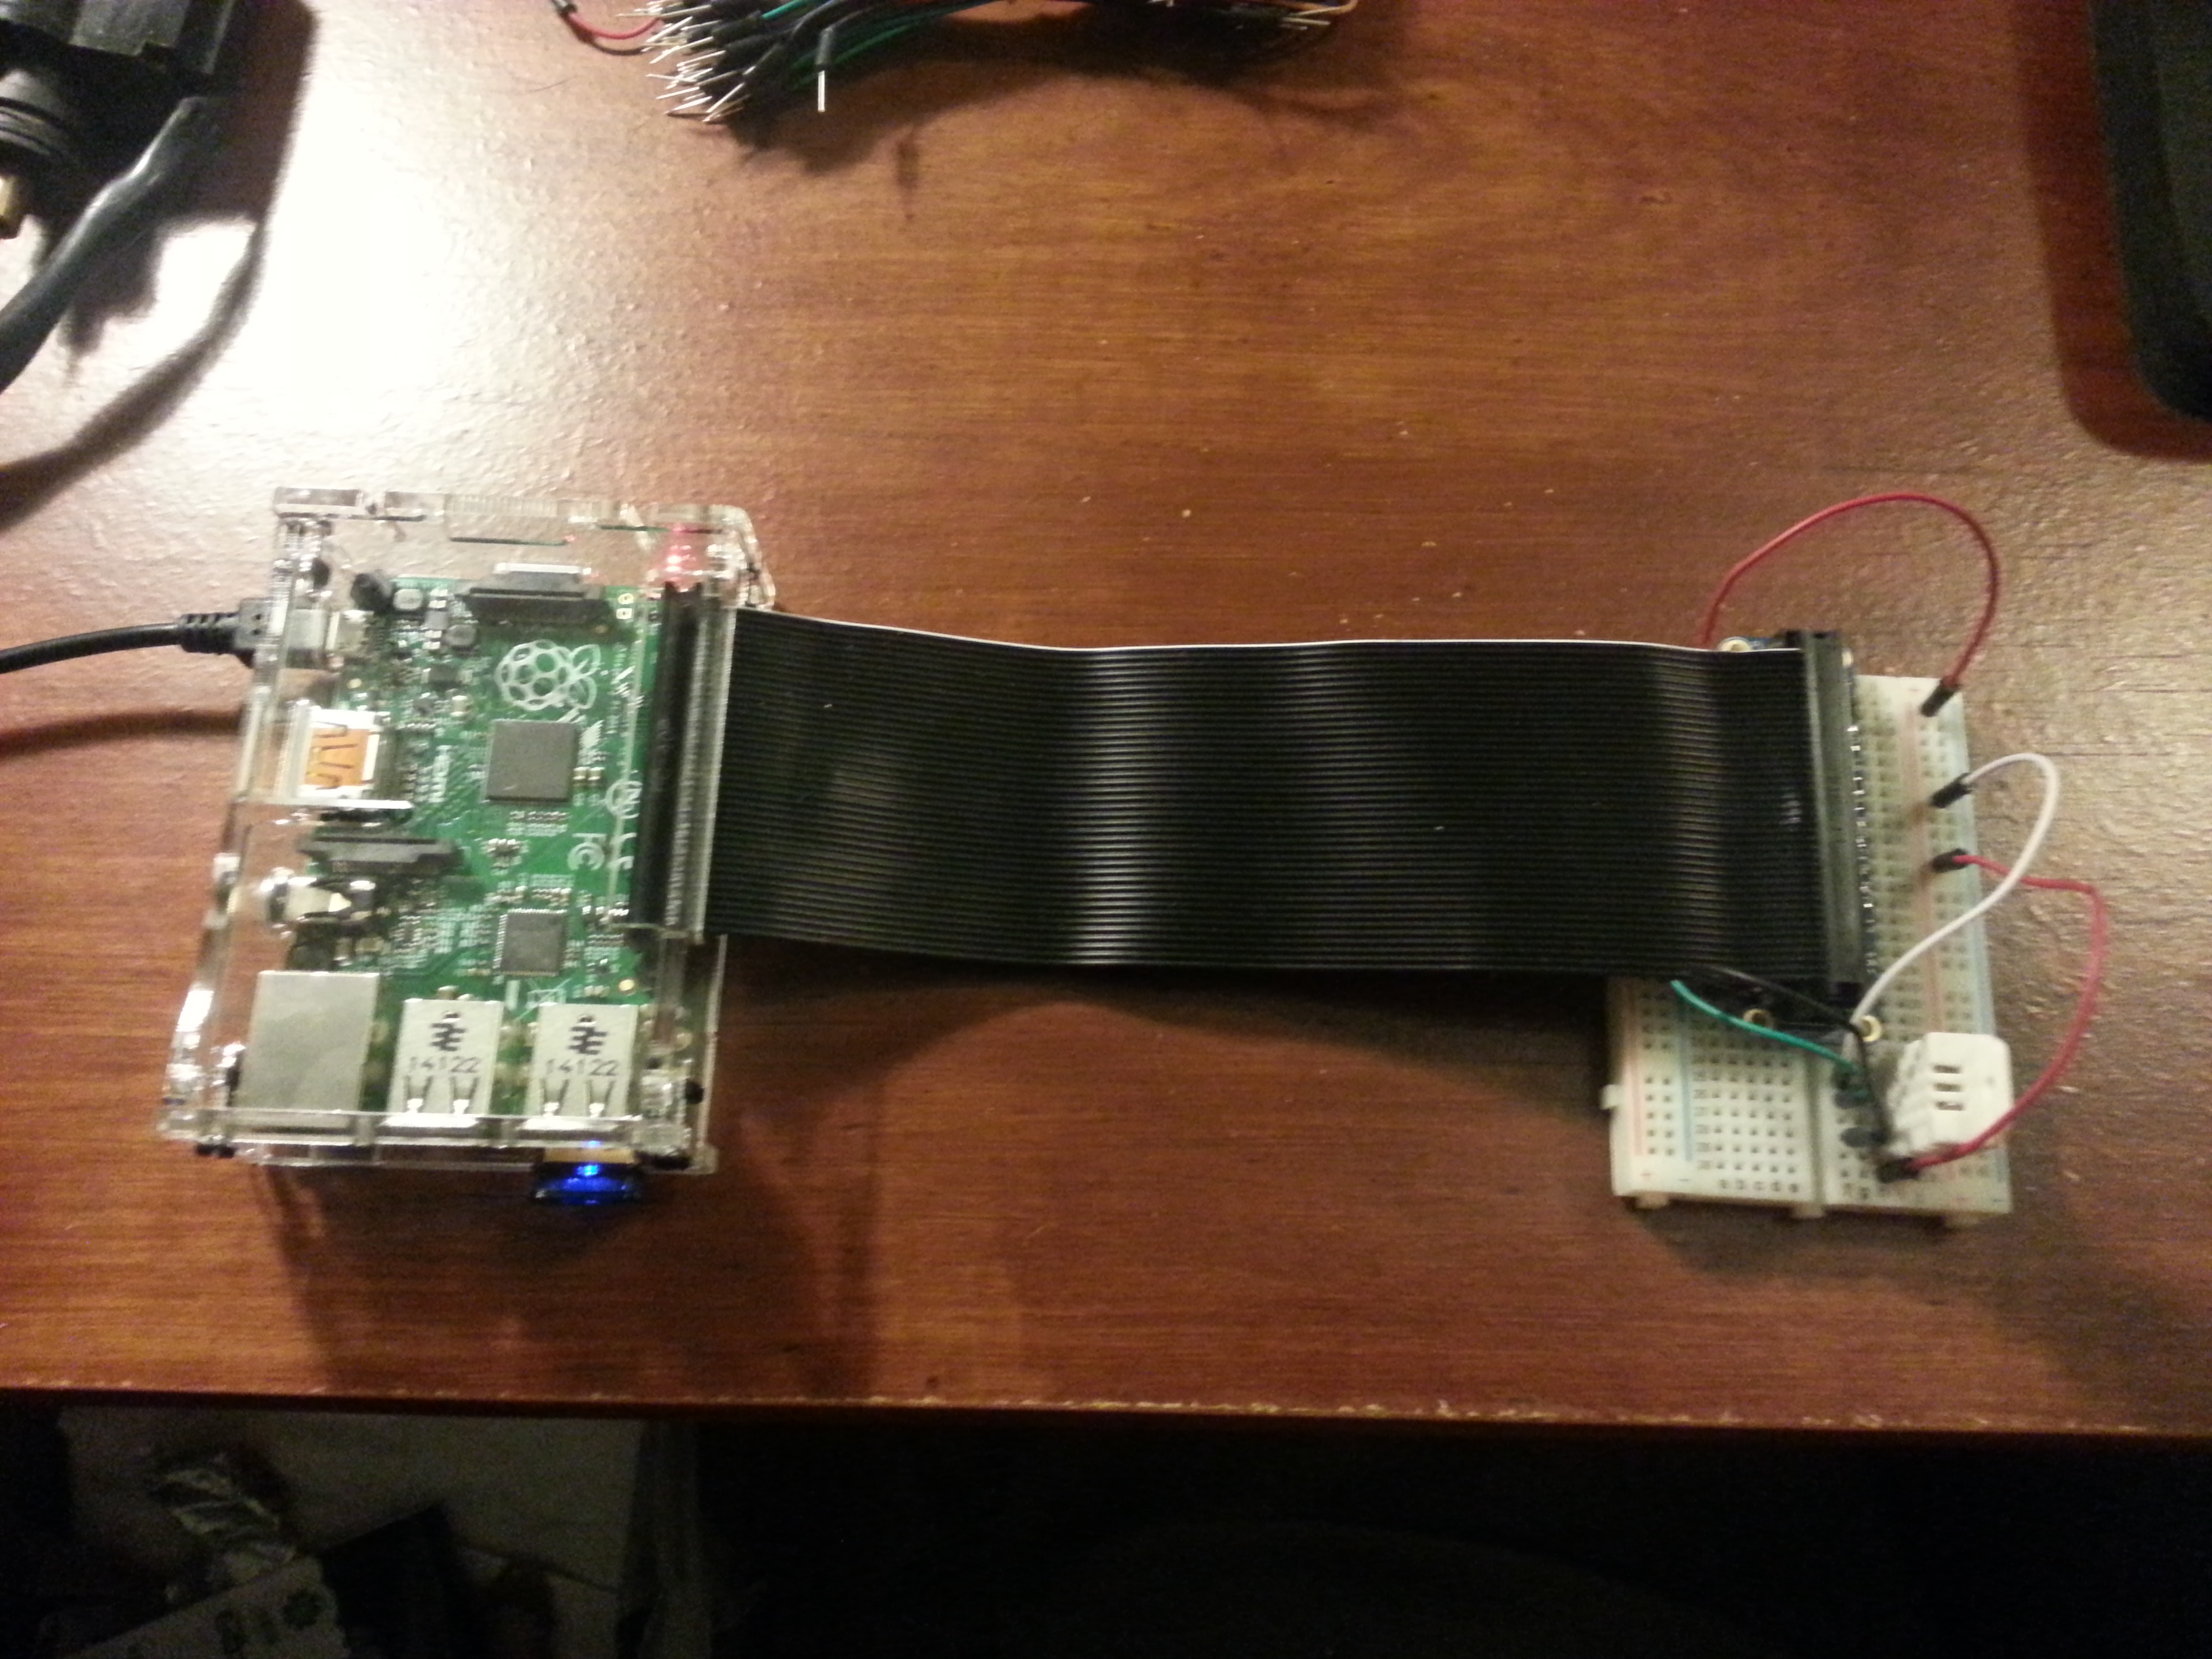
I recently bought a Raspberry Pi to play around with, and also started brewing beer a few weeks ago. I figured it would be great to build something to help with the brewing, so I went with an automated temperature/humidity sensor to track the climate of the brew. After a bit of soldering, wiring, and programming, everything is up and running. Here it is in all it’s glory:
Ingredients:
- Raspberry Pi B+
- DHT22 (a) temperature/humidity sensor
- GPIO Breakout Connector (a) to connect the breadboard to the Pi
- Solderless breadboard
- Several male-male wires
- Soldering iron + solder
- USB Wifi adapter - this one worked well
- Case for the Pi (optional)
Soldering the breakout connector
I had never soldered anything else in my life, so I was quite scared to not mess anything up, but it turned out much simpler than I expected. I read this article (a), watched this youtube video, and went at it. It was slow going at first, but two things seemed to work well for me. First, putting a bit of solder on the tip of the iron before heating the joint seemed to help a lot. I think the solder helped conduct the heat into the joint. Second, when it was time to add the solder to the joint, it often helped to touch the tip of the solder to the iron and then move it down onto the joint. I think that helped melt the solder, because touching it to the opposite side of the pin was often not enough. Then again, the soldering iron I was using came from the West Philly Tool Library and was probably somewhat old and not in the best shape. The tip definitely looked like it could use a good cleaning.
Wiring it up
Once the soldering was done, the rest was easy. I connected everything as shown below. The connector in this diagram is for an older version of the Pi, but the idea is the same.
Update 2020-01-02: The DHT sensor has an operating range of 3V to 6V. If you can’t get a reading, try powering it from the 5V pin.
Then I followed the instructions here (a) to install the Python library and the sample code. Here’s the short version:
# install python
sudo apt-get update
sudo apt-get install build-essential python-dev git

# get library/sample code
git clone https://github.com/adafruit/Adafruit_Python_DHT.git
cd Adafruit_Python_DHT

# install library
sudo python setup.py install

# run sample. first arg is the sensor type (11, 22, 2302). second arg is the GPIO pin that the sensor is connected to
cd examples
sudo ./AdafruitDHT.py 22 4
That’s it. Somewhat surprisingly, everything worked on the first try. This still doesn’t mean that my soldering job worked, but at least the power, ground and data pins are soldered correctly. Also check the google_spreadsheet.py example for how to write the temp data to a Google doc every few minutes. I couldn’t get the google doc connection to work, so I just wrote the data to a file.